Nothing beats a nice juicy German sausage! This recipe has all of the traditional german spices and tastes just like it came from a professional butcher. The process itself isn't advanced, but there is a large amount of time to dedicate to it.
1.50lbsPork Back Fat; skinned & cubedMake sure the final 1.5lbs weight is after you've removed the skin
Spices
1.50tbspKosher Salt
¼cupDried MilkUse c-bind (1% of total meat weight) to make it allergen-free
1.50tspGround White Pepper
2tspGround Mace
1tspGround Ginger
¼tspDried Marjoram
¾tspMustard Powder
¼tspGround CardamomOr use the seeds from 7-10 Cardamom Pods. Discard pods and grind seeds
¼tspGround CorianderOr use whole coriander and grind it yourself
¼tspCaraway Seeds; crushed
Preparation
1
When you're ready to start place grinder parts, meats, and fat in the freezer for 30-45 minutes. Meat should be partially frozen. Casings should be stored in the refrigerator.
2
Remove fat from freezer. Remove the skin from the fat, like you would remove the skin from a fish.
3
Cube fat into roughly 1" pieces. Place in a bowl and put back in the freezer.
4
Remove the pork shoulder from the freezer. Cut into 1" cubes.
5
Place pork in a bowl and put back in the freezer.
6
Remove beef from freezer. Remove any large fat caps. Cut into 1" cubes.
7
Place beef back in the freezer.
Grinding
8
Set up your grinder or grinder kitchen aid attachment with the 1/4" (6cm) die.
9
Have two bowls filled with ice and salt. Place an empty bowl on top of one of the ice bowls and place it under the grinder.
10
Pull the fat bowl from the freezer, and place it in the other ice bowl. It is important that that meat, fat, and grinder stay as cold as possible.
11
Place the fat in the grinder, pushing down with the tool as needed. Use speed 2-3. If you see the fat "smearing" through the back of the grinder cap, STOP and put everything back in the freezer.
12
Once the fat is ground, place it back in the freezer.
13
Place another empty bowl on top of the ice.
14
Pull out the pork and place on the other ice bowl.
15
Grind the pork the same way as the fat. Make sure it remains as cold as possible.
16
Once the pork is ground, place it back in the freezer.
17
Repeat the grinding steps with the beef.
18
Pull the pork out, and grind 1/2 of it again. This helps to smooth out the meat.
19
Place everything in the freezer while you assemble the spices.
20
Wash grinder, dry, and place back in the freezer. Place stuffer tube in the freezer, as well.
Mixing the Spices
21
In a small bowl, combine all of the spices.
22
If using whole cardamom or coriander, grind them in a pestle and mortar.
23
Crush the caraway seeds in the pestle.
24
If using C-Bind (a carrot fiber alternative that does not affect flavor), weigh out 14.77 grams.
Mixing
25
Place fat, pork, and beef in one bowl.
26
With the dough hook attachment, mix on low speed for 2 minutes.
27
Add spice mix. Mix for another 4 minutes. Look for threads to start forming.
28
Taste your sausage at this stage. Heat up a pan with some oil and fry up a small patty. There's nothing worse than taking all this time only to find out your flavors were off after you stuff and cook it.
29
If the mixture is too dry, you can add VERY cold water 1 Tbsp at a time. If spices are unincorporated at the bottom, just knead them into the meat mixture.
30
Place everything back in the freezer.
Stuffing
31
Pull out 1 or 2 casings. Rinse them with water, and soak in warm water for 30 minutes.
32
Set up your grinder again with the large stuffing tube attached.
33
Rub some oil on the tube to help slide on the casing. Slide it on the whole way leaving about 4" hanging.
34
Place your meat mixture in the ice bowl. Take a handful and put it in your grinder and use the tool to push down. Set it to speed 2-4
35
Once the meat begins to enter the casing, tie it off. Tying after will help reduce air bubbles.
36
Stuff the casing to about 1.5" diameter, shaping the sausage as you go. Don't under-stuff or overstuff the casing. It may take a minute to find your rhythm.
37
Have a plate or cooking sheet under the grinder so you can start to wind the sausage.
38
With about 4" left, turn off the stuffer. Pull it off, and tie.
39
If you have more meat, slide on another casing and continue.
40
I find that our stuffer leaves a lot of ground meat behind. So, if I have enough casing, I leave the casing on the tube but dismantle the stuffer. Then I hand stuff the casing, by holding onto the tube and pushing the remaining meat through.
41
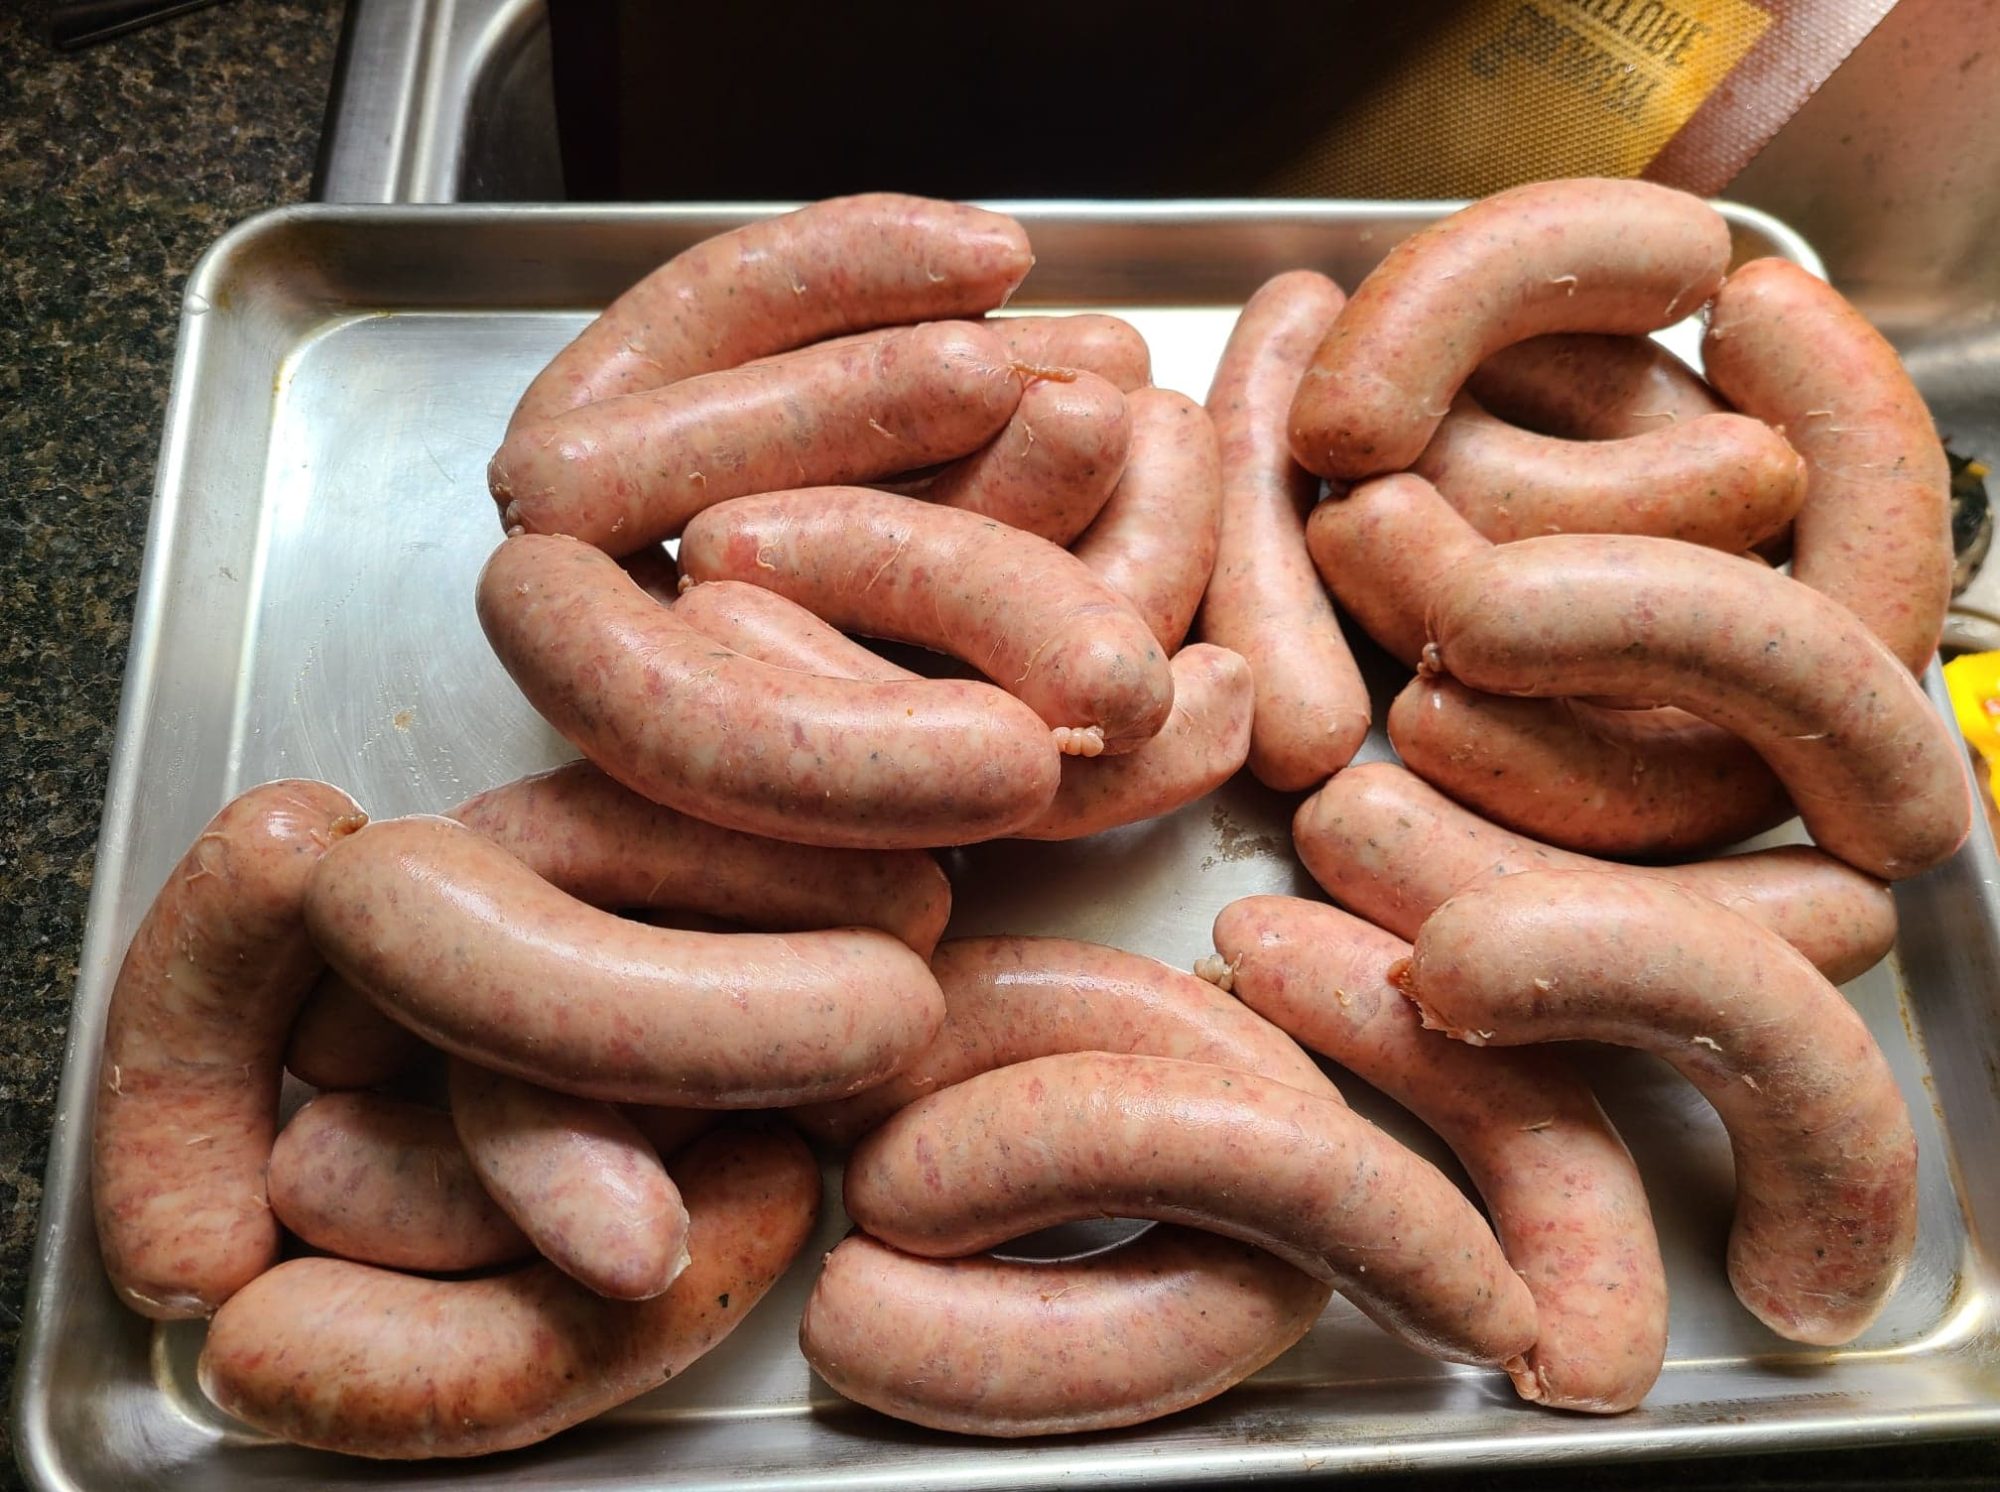
You can either leave it coiled, or you can twist it into links.
42
Links should be about 5-6". Pinch it a little to make a kink, then twist to seal the link. Cut the links when ready to cook.
43
You are ready to enjoy your handmade sausages!! They can be grilled, pan fried, poached, etc. Cook to 160°F
44
You must use a toothpick to prick the casings in 4-6 places. This will keep the casing from bursting and the meat going dry during cooking.
1.50lbsPork Back Fat; skinned & cubedMake sure the final 1.5lbs weight is after you've removed the skin
Spices
1.50tbspKosher Salt
¼cupDried MilkUse c-bind (1% of total meat weight) to make it allergen-free
1.50tspGround White Pepper
2tspGround Mace
1tspGround Ginger
¼tspDried Marjoram
¾tspMustard Powder
¼tspGround CardamomOr use the seeds from 7-10 Cardamom Pods. Discard pods and grind seeds
¼tspGround CorianderOr use whole coriander and grind it yourself
¼tspCaraway Seeds; crushed
Directions
Preparation
1
When you're ready to start place grinder parts, meats, and fat in the freezer for 30-45 minutes. Meat should be partially frozen. Casings should be stored in the refrigerator.
2
Remove fat from freezer. Remove the skin from the fat, like you would remove the skin from a fish.
3
Cube fat into roughly 1" pieces. Place in a bowl and put back in the freezer.
4
Remove the pork shoulder from the freezer. Cut into 1" cubes.
5
Place pork in a bowl and put back in the freezer.
6
Remove beef from freezer. Remove any large fat caps. Cut into 1" cubes.
7
Place beef back in the freezer.
Grinding
8
Set up your grinder or grinder kitchen aid attachment with the 1/4" (6cm) die.
9
Have two bowls filled with ice and salt. Place an empty bowl on top of one of the ice bowls and place it under the grinder.
10
Pull the fat bowl from the freezer, and place it in the other ice bowl. It is important that that meat, fat, and grinder stay as cold as possible.
11
Place the fat in the grinder, pushing down with the tool as needed. Use speed 2-3. If you see the fat "smearing" through the back of the grinder cap, STOP and put everything back in the freezer.
12
Once the fat is ground, place it back in the freezer.
13
Place another empty bowl on top of the ice.
14
Pull out the pork and place on the other ice bowl.
15
Grind the pork the same way as the fat. Make sure it remains as cold as possible.
16
Once the pork is ground, place it back in the freezer.
17
Repeat the grinding steps with the beef.
18
Pull the pork out, and grind 1/2 of it again. This helps to smooth out the meat.
19
Place everything in the freezer while you assemble the spices.
20
Wash grinder, dry, and place back in the freezer. Place stuffer tube in the freezer, as well.
Mixing the Spices
21
In a small bowl, combine all of the spices.
22
If using whole cardamom or coriander, grind them in a pestle and mortar.
23
Crush the caraway seeds in the pestle.
24
If using C-Bind (a carrot fiber alternative that does not affect flavor), weigh out 14.77 grams.
Mixing
25
Place fat, pork, and beef in one bowl.
26
With the dough hook attachment, mix on low speed for 2 minutes.
27
Add spice mix. Mix for another 4 minutes. Look for threads to start forming.
28
Taste your sausage at this stage. Heat up a pan with some oil and fry up a small patty. There's nothing worse than taking all this time only to find out your flavors were off after you stuff and cook it.
29
If the mixture is too dry, you can add VERY cold water 1 Tbsp at a time. If spices are unincorporated at the bottom, just knead them into the meat mixture.
30
Place everything back in the freezer.
Stuffing
31
Pull out 1 or 2 casings. Rinse them with water, and soak in warm water for 30 minutes.
32
Set up your grinder again with the large stuffing tube attached.
33
Rub some oil on the tube to help slide on the casing. Slide it on the whole way leaving about 4" hanging.
34
Place your meat mixture in the ice bowl. Take a handful and put it in your grinder and use the tool to push down. Set it to speed 2-4
35
Once the meat begins to enter the casing, tie it off. Tying after will help reduce air bubbles.
36
Stuff the casing to about 1.5" diameter, shaping the sausage as you go. Don't under-stuff or overstuff the casing. It may take a minute to find your rhythm.
37
Have a plate or cooking sheet under the grinder so you can start to wind the sausage.
38
With about 4" left, turn off the stuffer. Pull it off, and tie.
39
If you have more meat, slide on another casing and continue.
40
I find that our stuffer leaves a lot of ground meat behind. So, if I have enough casing, I leave the casing on the tube but dismantle the stuffer. Then I hand stuff the casing, by holding onto the tube and pushing the remaining meat through.
41
You can either leave it coiled, or you can twist it into links.
42
Links should be about 5-6". Pinch it a little to make a kink, then twist to seal the link. Cut the links when ready to cook.
43
You are ready to enjoy your handmade sausages!! They can be grilled, pan fried, poached, etc. Cook to 160°F
44
You must use a toothpick to prick the casings in 4-6 places. This will keep the casing from bursting and the meat going dry during cooking.