
We all love a good slab of meat, right? So smoking that meat can only make it better right? Well with all the various ways to smoke and all the desired outcomes having different requirements we are going to take a moment to break down them down in our smoking series. So if you’re looking to enhance your flavors stick with we will walk you through some of the basics and options available to you. Don’t have a dedicated smoker, don’t worry the rules are the same. Let’s get smokey!
Juicy or Dry?
So lets face it everyone has thought this at some point or another while they were on this journey. To be honest juicy meats are delightful, most of the time we would absolutely say JUICY. However, there are certainly times where you would want to keep your meats dry (jerky and some fish recipes). So let’s take a look at each. *If you’re following a recipe you will want to stick to it but if you’re interested in the reasons for each of these options, here you go:
Prep & Brines
Smoking meats is not generally something you can just make a snap decision and do for a meal that evening. Most recipes require that you prep your meats in advance either by brining or marinating. Depending on the thickness of the meat it can take anywhere from 1 to 24 hours to prep the meat.
Fun Fact: almost every single recipe will have a dry rub, even if it is just salt and pepper (often called a “Dalmatian Rub”).
Dry Rubs
A good dry rub can make a huge difference in how your meats come out. Dry rubs are often comprised of the “Four S’s”: Sugar, Savory, Spices & Herbs, & Spicy. Did you notice that there is no salt listed in there? That is because the saltiness is incorporated during the brining or with your “Dalmatian Rub”. DRY RUBS ARE SURFACE TREATMENT ONLY. The flavors only seem like they make it the whole way into the meat because you chew your meat.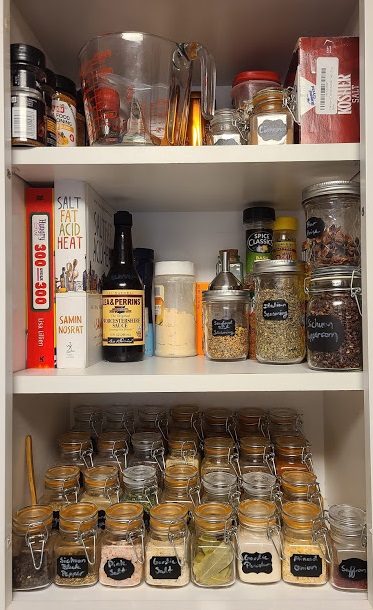
- Sugar – Acts as a flavor enhancer and helps with browning and crust formation. Unfortunately there is no replacement for this as it relies heavily on the chemical properties of the sugar, so diabetics tread lightly.
- Savory – These flavors come from amino acids called glutamates, green herbs, garlic, some spices, and other flavorings.
- Spices & Herbs – Not all work on all foods but a well stocked spice rack has a lot of great options. Perhaps there will be a post on spices in the future.
- Spicy – Spices add excitement, but use a tempered hand. Not all heat is created equal and not everyone likes that flaming mouth feeling. Black pepper is the most common, used in almost every recipe to some extent but there are some ground peppers such as cayenne & chipotle. Ginger, horseradish, & mustard powder also fall into this category.
Marinades
Basically marinades are fancy wet spice rubs, the benefit is that they give you access to more exotic flavors like wine, juices, soft drinks, etc. These flavors do not penetrate into the meat very far generally only flavoring the surface.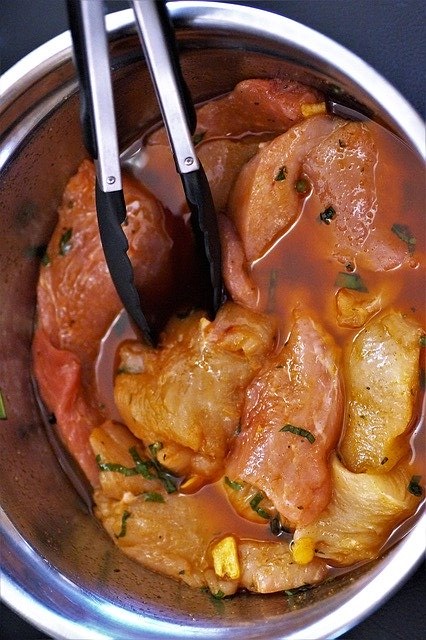
Let’s get something straight, most marinades do NOT tenderize meats. Tenderizing meats requires denaturing the proteins and marinades do not penetrate deep enough into the tissues to do this. To be honest if your marinade has an acid (vinegar, fruit juice, wine buttermilk or yogurt) to it it can make the surface firmer and in some cases mushy. Try to limit your acids to less then 1/8 of your mix. This is a good thing if you’re trying to form a dry crust. Water-based marinades (wine, beer, soft drinks, & juices) keep the surface wet which causes steam and prevents the formation of that dry crust, also known as the Maillard reaction. If you’re trying to smoke your meats this steam can heat the meat too much which prevents it absorbing the smoke. On the other hand a wet surface can prevent dehydration and drying while on the grill, resulting in a moister meat.
If you are looking to drive flavor towards the center of the meat you may want to try using an injector. If you don’t have one on hand you can gash your food by cutting slices into the surface and give the marinade somewhere to go.
Chef Tip: Thin cuts are best for marinating.
Chef Tip 2: Fresh pineapple, papaya, and ginger have enzymes that tenderize meat but this enzyme is destroyed in the canning and bottling process so they have to be fresh if you’re trying to tenderize your meat.
Chef Tip 3: Take your spice mix and mix with water to make a paste. Let it sit for a few hours the the water extracts the flavors. While your mixture sits dry brine your meat with salt if the rub does not already have salt in it. If it does skip the dry brining. Then apply the paste to the meat and cook. Start with indirect heat to bake in the flavors then move to direct heat to create a crust.
Brinerades
Fun to say and totally made up by the fun people at Cooks Illustrated magazine to describe a marinade with enough salt to pull double duty as a brine and there are a number of recipes available online so don’t get discouraged.
What about the Salt?
Salt penetrates the meat by interacting electrically with the water in the meat. Salt rarely penetrates further then 1/8″ and can take up to 12 hours to do so. Also keep in mind that thicker and denser cuts will require more salt to achieve the desired goal. For example a skirt steak will require significantly less salt then a ribeye steak as the fibers are looser and the meat is less firm.
There are other reasons to skip the salt in a dry rub, here are a few: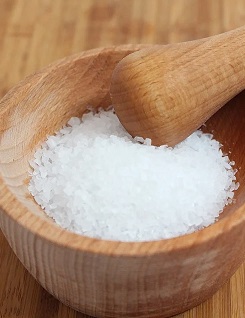
- If you’ve used a “Dalmatian Rub” in your prep.
- Most meat has some for of salt solution injected at the processor.
- Some people like salt more/less then others
- There are people with diet restrictions
- Some rubs need mixed with oil and salt does not dissolve in oil.
- Gives you the option to add finishing salt at the end to achieve your desired taste.
Smoker Envy?
If you have ever watched a cooking show as they highlight smoking foods then you are likely to have seen one of these Patio and Electric Smokers.
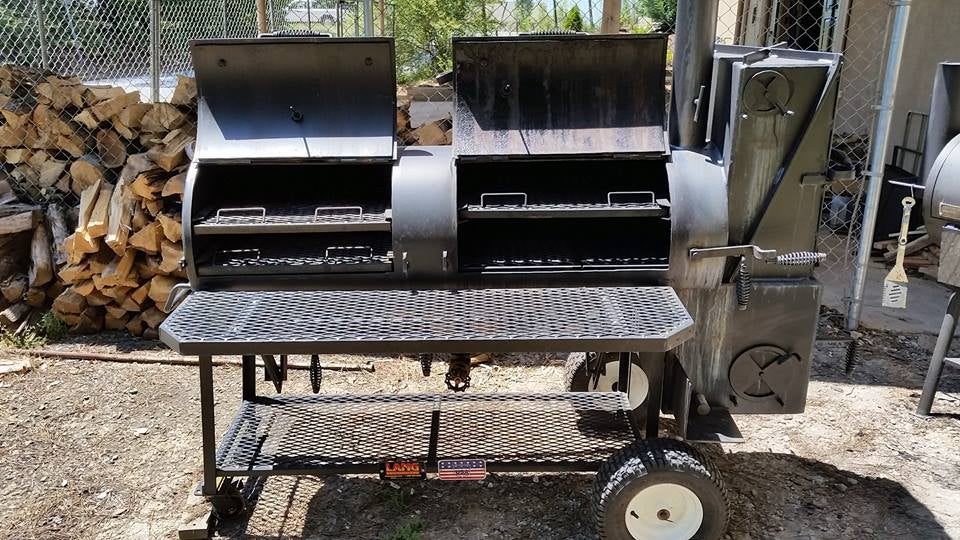
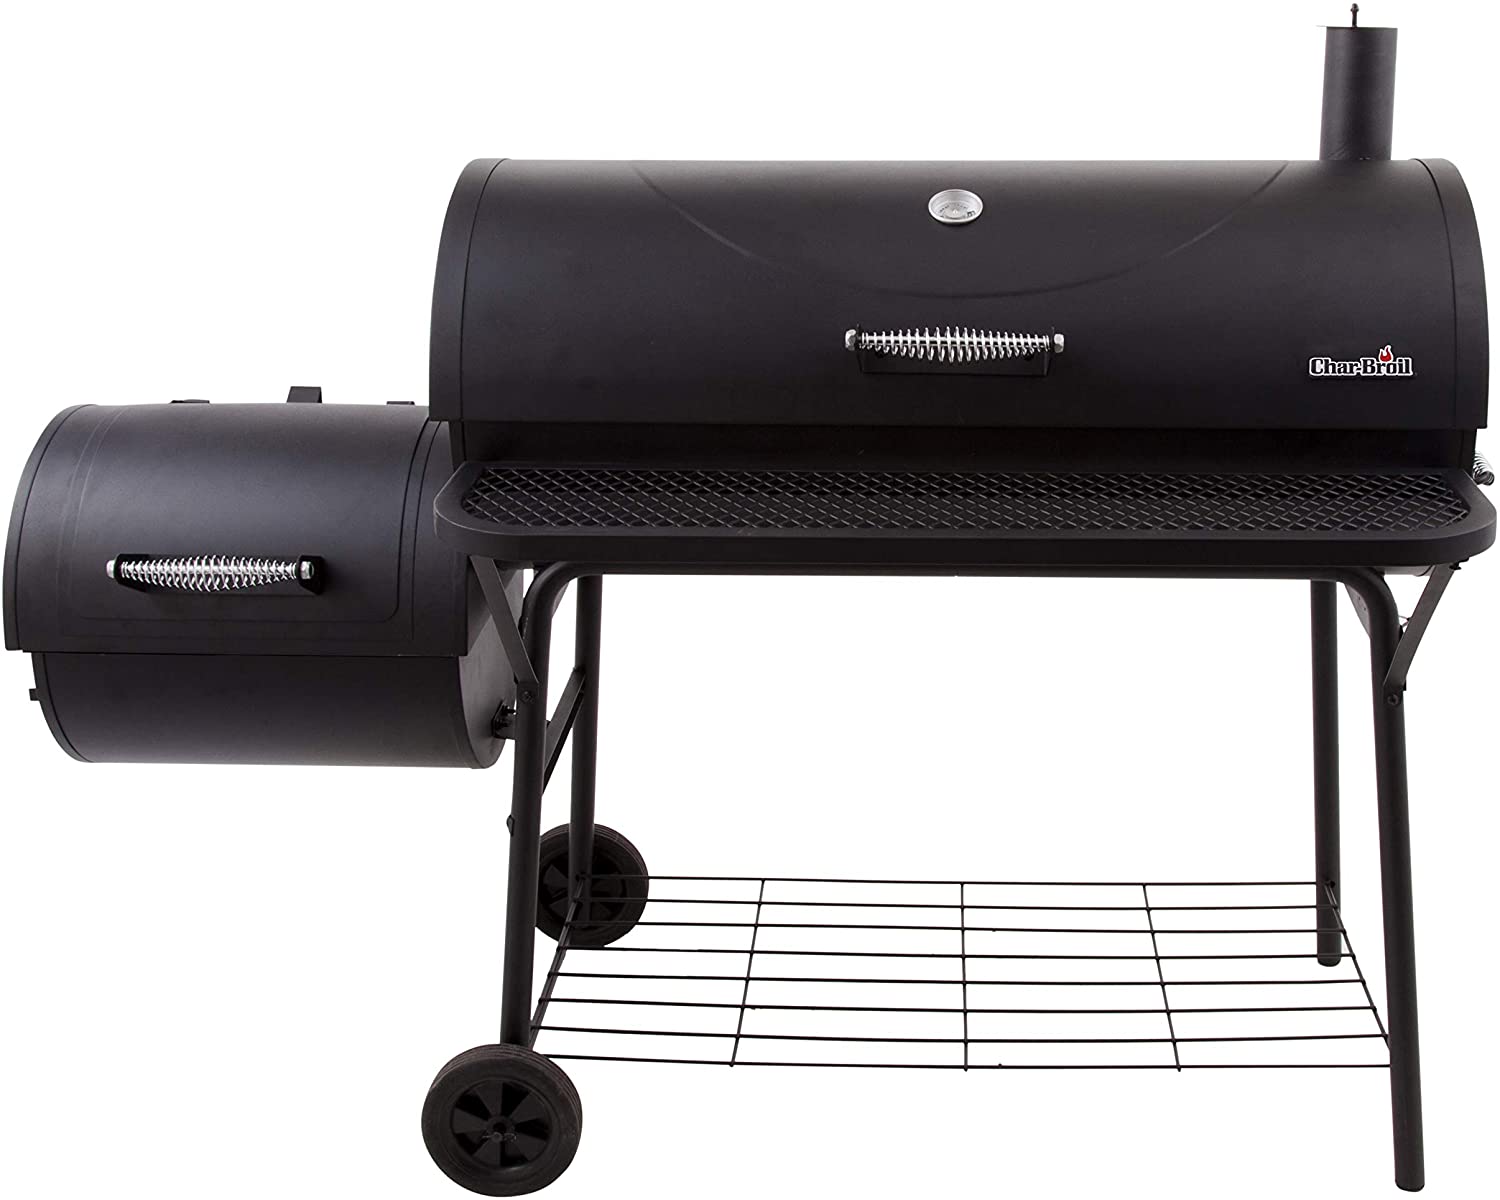
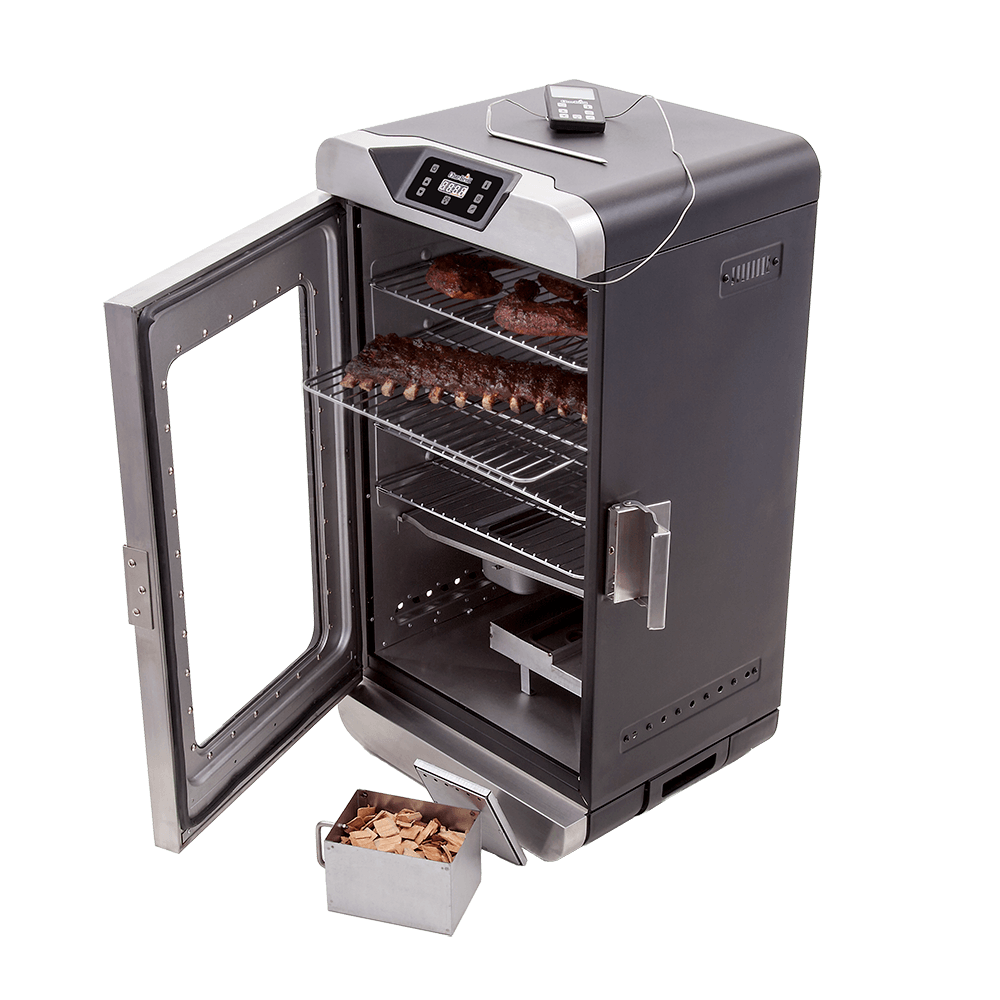
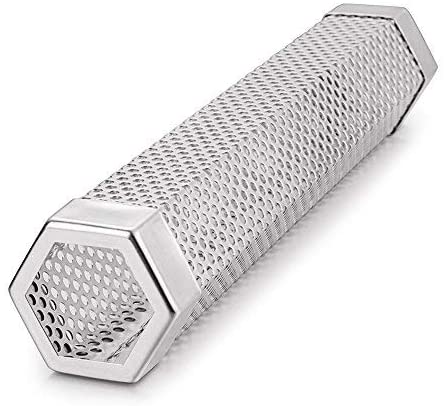
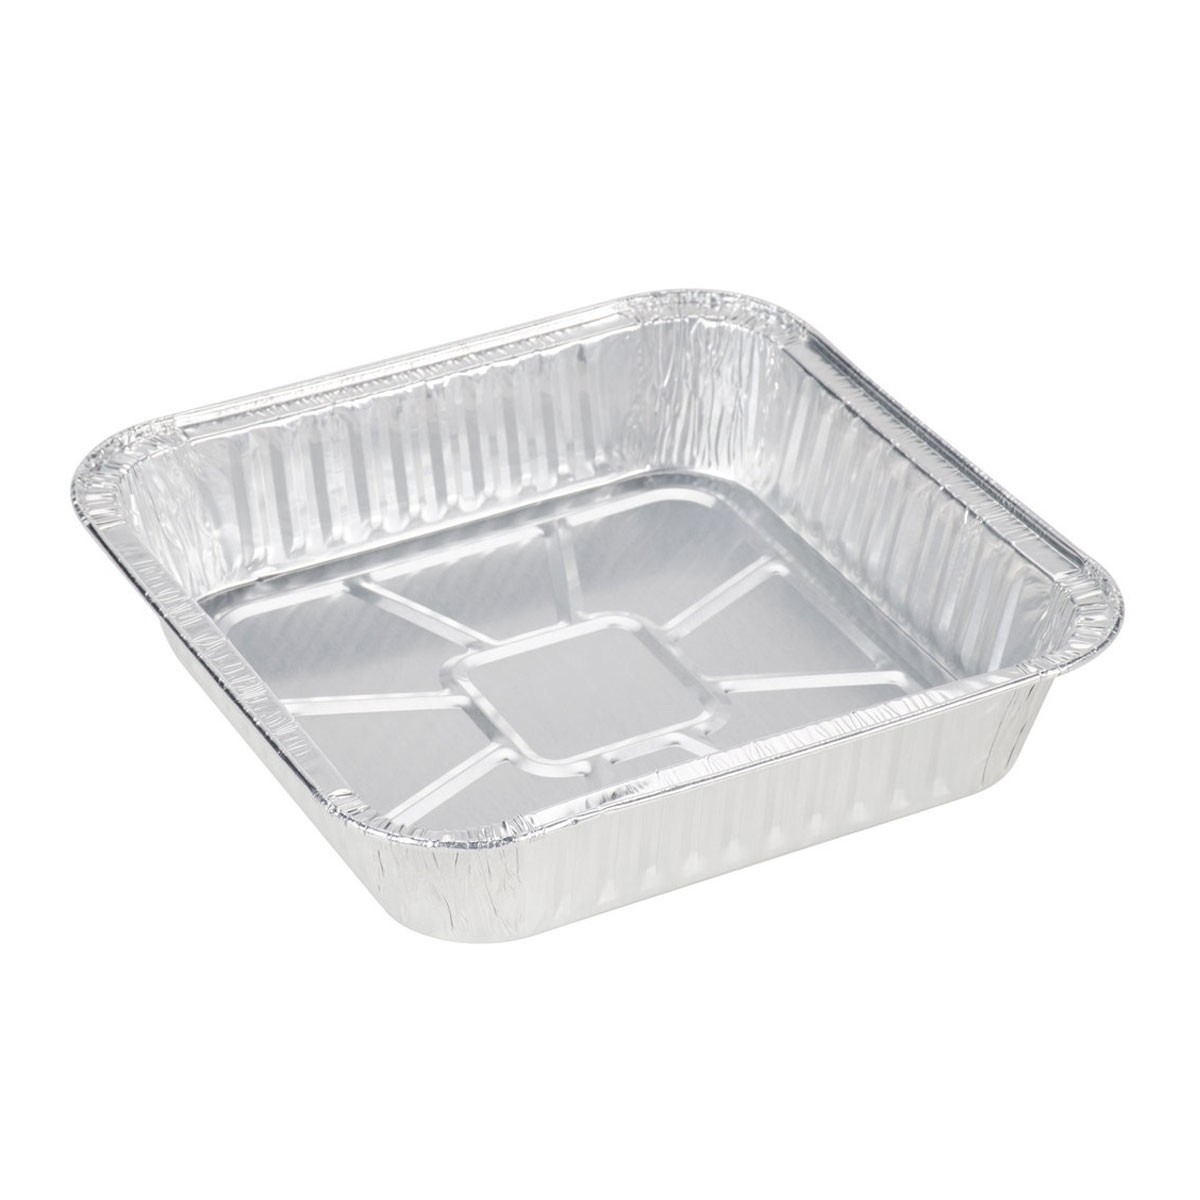
While they are nice and if you are planning to smoke meets all the time, then you may find that investing in a dedicated smoker is a great way to go. These typically will run a couple hundred dollars but if you have money to spend or you plan on going hardcore on your smoking game then this may be the route for you. However, if you’re looking to save some money and still achieve some of the same great tastes then these tube smokers or foil pans may fit your needs. The tube can be filled with wood chips or pellets and set right on the grates of your grill and the foil pan would be covered with aluminum foil with holes poked in the top. The holes in the aluminum prevent the wood chips from bursting into flame and keep them smoldering through the process.
Chips vs Pellets?
The main difference between wood chips and pellets is how often you will need to replace them wood chips tend to burn quicker then pellets. However the larger smokers may require one over the other while the smoke tubes can use either and the foil pans typically work better with wood chips. If you use the wood chips and the smoke tube you will need to add wood chips to the tube throughout the smoking process which is not a big deal but will require that you’re available approximately once an hour to check and fill. As far the flavors they are about the same, so don’t get sucked into a more expensive smoker unless you feel it is necessary. For more information on which woods to use as well as a helpful pairing guide check out this article: Got Wood?
Direct Heat v. Indirect
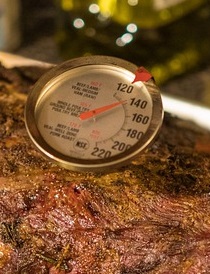
These are the two main cooking methods for smoking foods. Indirect allows the meat to absorb the most smoke meats absorb smoke best when they are below 165°F and the longer it takes to reach your minimum temps the smokier your foods will be. Direct heat is used to develop the crust on smoked meats and is often used in the last part of the cooking process once the meat has time to build the flavors. In regards to smoking “Low & Slow is the way to go” but there are definitely times that you will want that higher temp to
Let’s Get Smokey!
Absolutely! We have been using a smoke tube and have been using wood chips for our adventures so far. Here is how we have been doing it:
- Preheat the grill. You will need to work out the settings specific to your setup because there are a bunch of factors that will determine how much heat you need to provide. Our setup needs one burner to be lit and kept between 1/4 and 1/3 open to keep the above temps. So keep an eye on it.
- Place the meat on the upper rack of the grill, you know the one that the hot dogs usually get relegated to during the cookout. If it doesn’t fit then use the lower deck but the upper deck gets more concentrated flavors due to less air flow..
- Fill your smoke tube with pellets or wood chips of choice. Using a torch (or lighter if your patient) and light one end of the tube.
- Place smoke tube on the lower deck of the grill. (We put down a piece of foil under the tube to catch the ashes just to make clean up easier)
- Ensure the grill temp does not exceed the preheat temps as the meat will begin to cook and not take the smoke as well. Depending on various factors the smoke tube may keep the grill at this temp meaning that you might have to turn off the burner to the grill. *Be Vigilant*
- Smoke/cook as directed by your recipe.
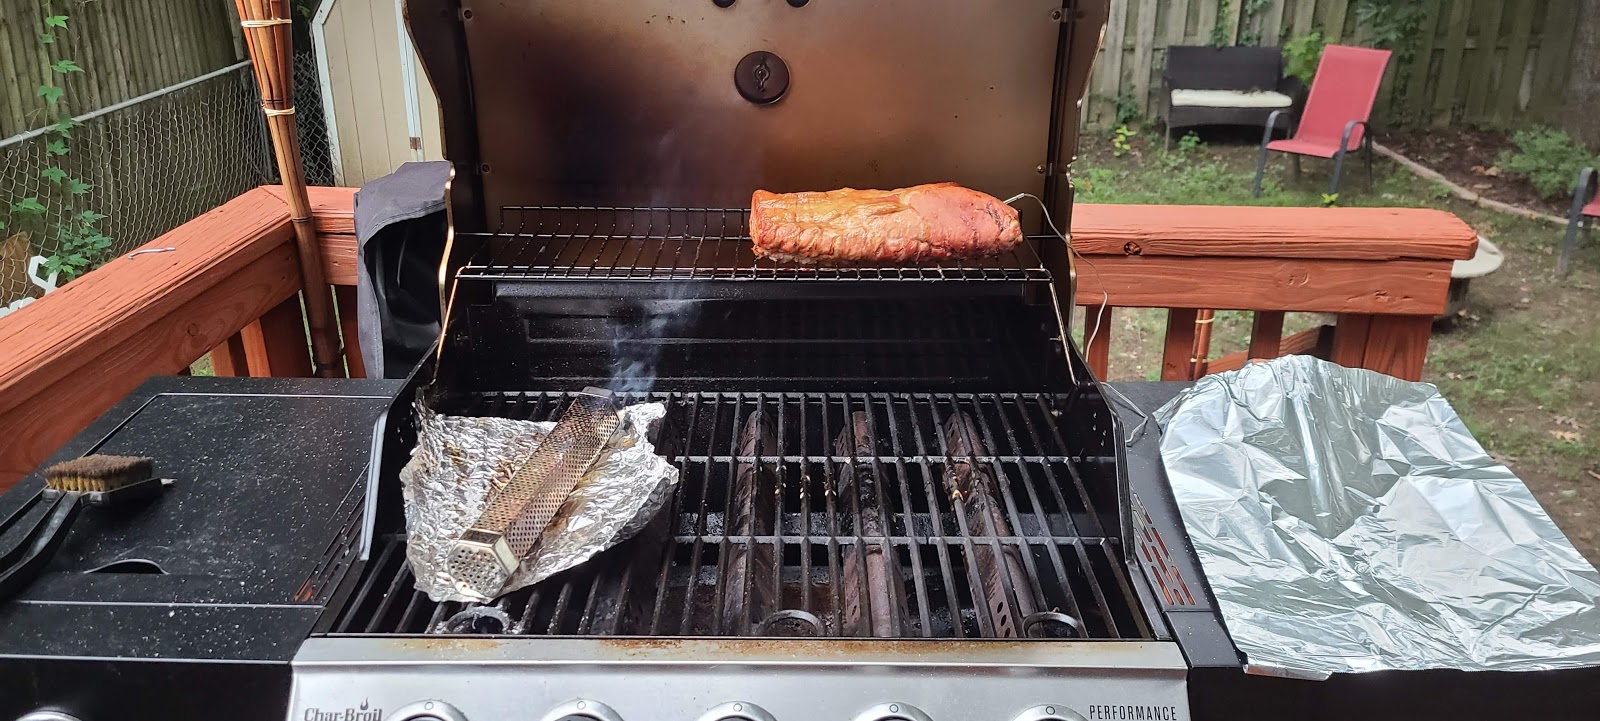
So what does this look like?
There are literally hundreds of configurations that can be used, here is ours. Note the burner that is on (if necessary) would be the one to the far left (under the smoke tube). This provides the indirect heat necessary to heat the meat. Under the smoke tube we have a piece of foil as mentioned above its because I’m lazy and don’t want to clean my grill when the ash falls down in the bottom of the grill. If you have a charcoal grill there is no need but propane I’d find a way to catch as much as possible.
Go Forth & Get Smokey!
So there you have it. This is a down and dirty on smoking foods. ENJOY!