Yes, in today’s world it’s so much easier and cheaper to just buy precut pieces of chicken from the store. However, there’s something special about butchering your own chicken and then cooking with it. It’s gives you a sense of connection to your food and a feeling of accomplishment, right?!
Thaw out your chicken. Have a tray near you to place your sections of chicken. Line it with foil and a cooling rack if you are planning to roast the bones for stock.
Place on a clean cutting board. If using wood, be sure to sanitize when you are done (instructions below).
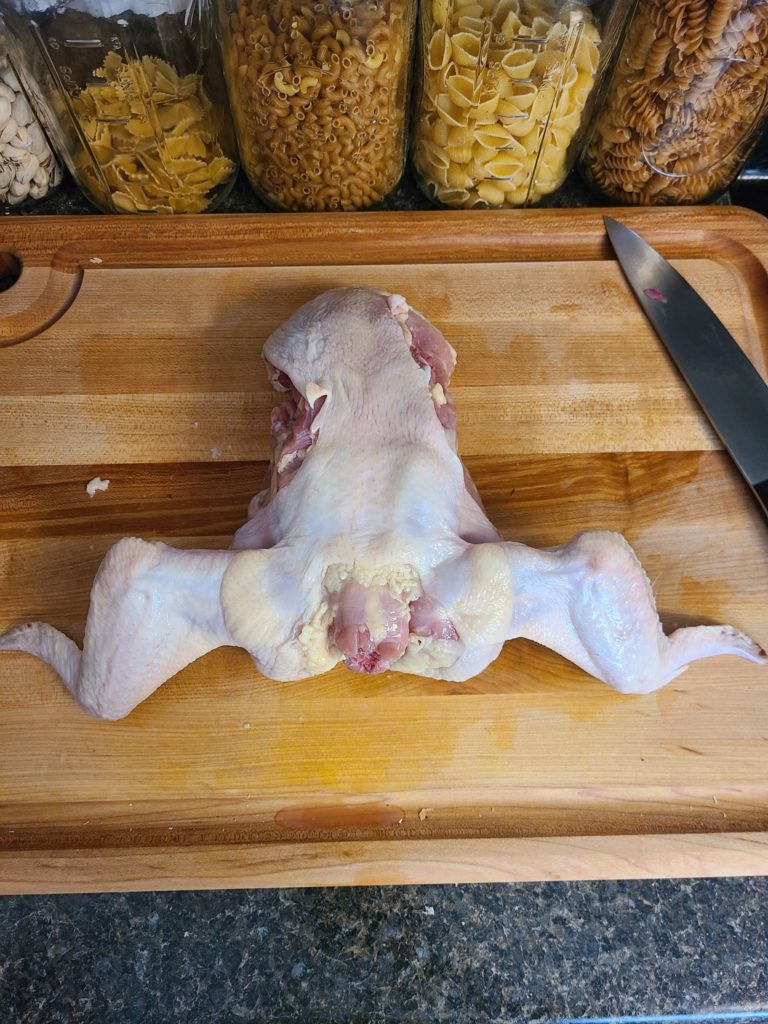
Start with the chicken laying horizontal on the board, with the legs & wing tips sticking up.
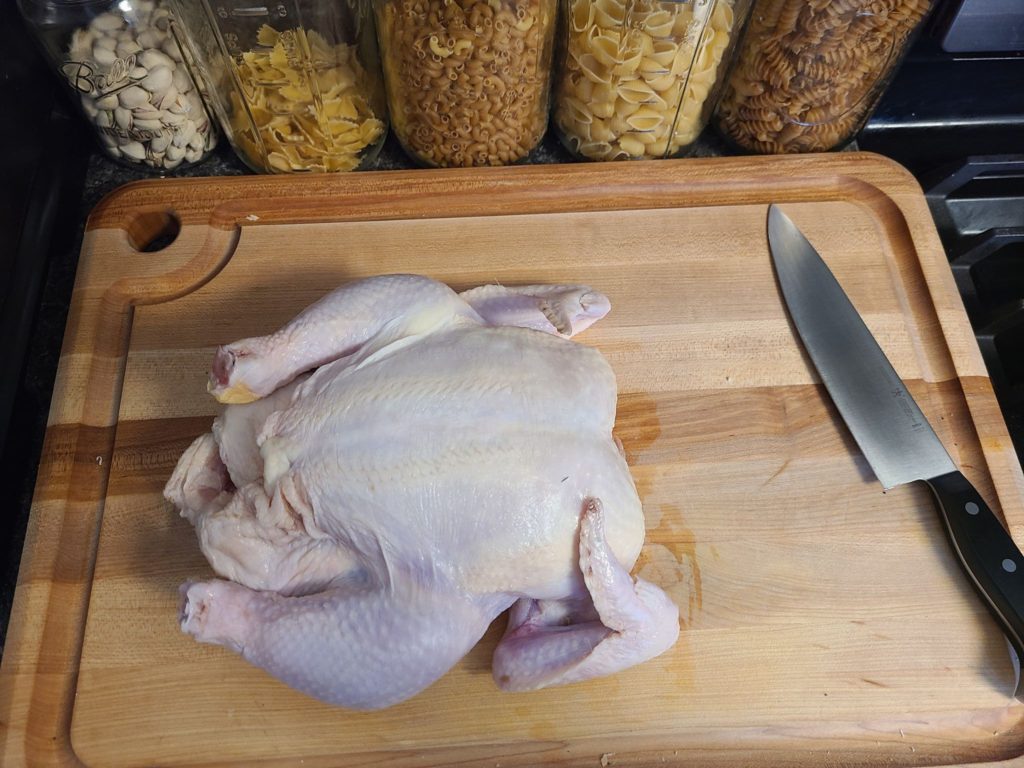
Make a small slice in the skin between the breasts and the drumstick. This will help to expose the joint.
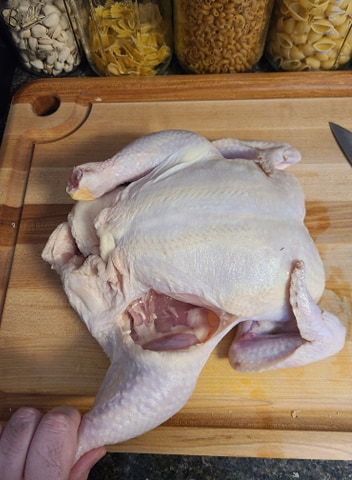
Put your thumb into the meat, and take the drumstick in your hand. Rotate the drumstick away from you, and you should feel the joint crack. Repeat with the other drumstick.
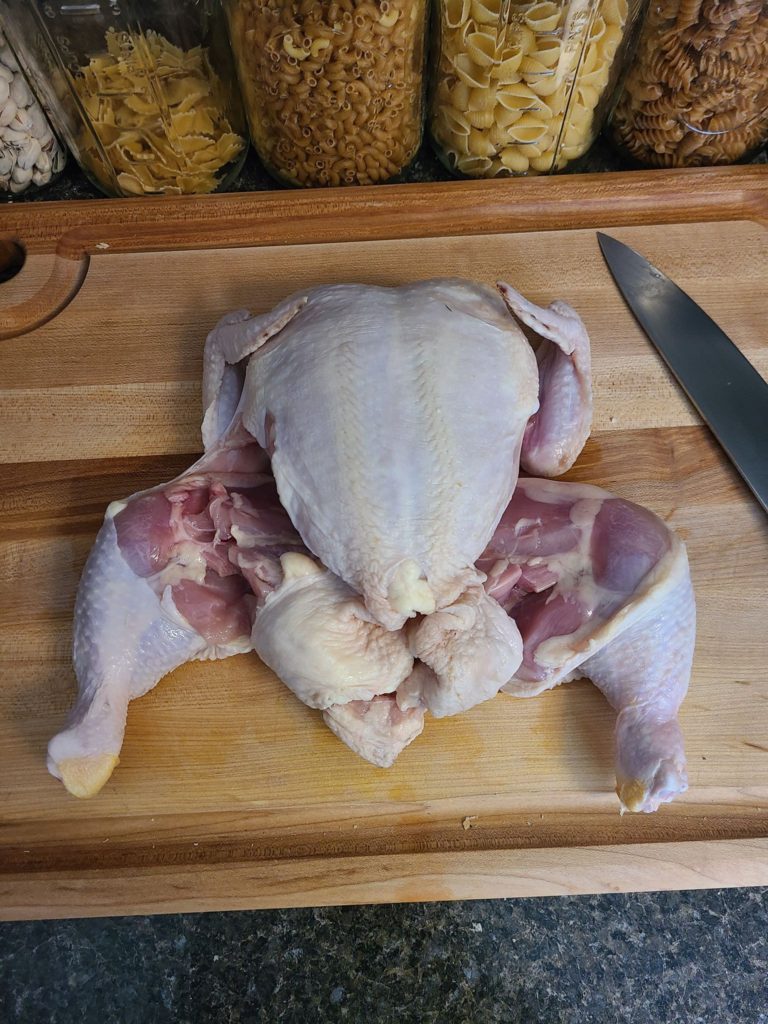
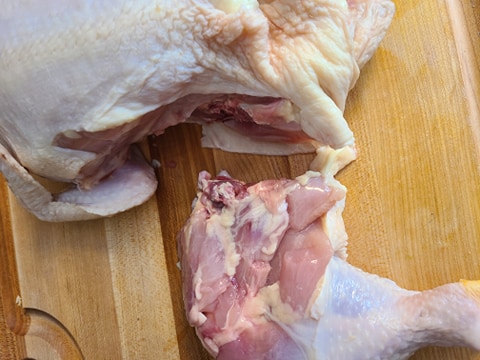
Now take your knife, and begin to cut through the joint. Since we broke the knuckle with the twist your knife should go right through it. There is no need to saw. If you’re sawing, that means you’re hitting the bone.
Now flip the chicken over, and repeat the steps for the wings. Rotate to break the joint, flatten them out, then cut around the shoulder.
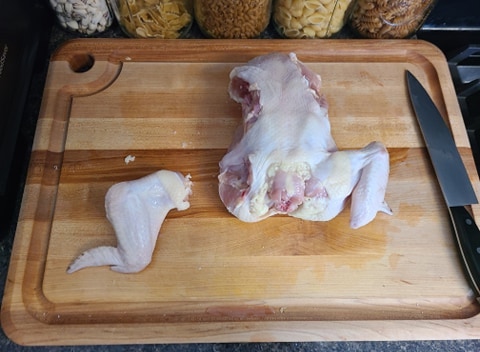
Now all that is left if are the breasts.
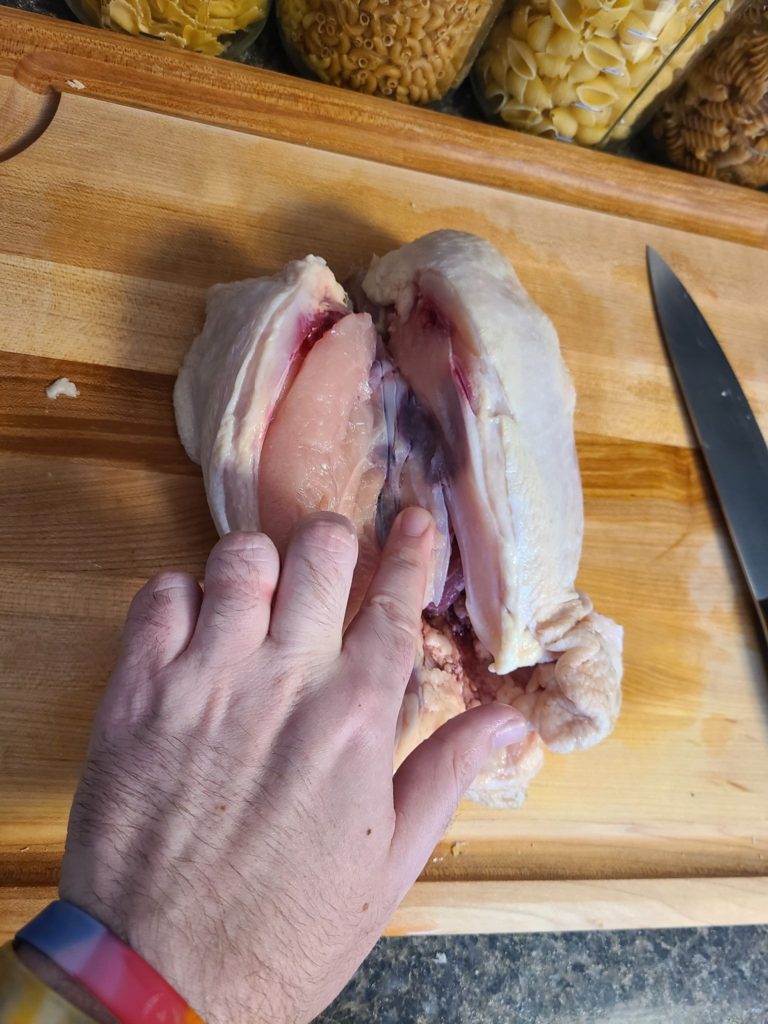
Flip the chicken over, and locate the breast bone.

Pick a side to start with. Take your knife and stay as close the the breastbone as possible. To quote Gordon Ramsey, “Let the knife do the work!” Using even strokes in a circle-motion, begin to slice the breast meat away from the bone. Avoid using a sawing-motion so you don’t shred the meat.
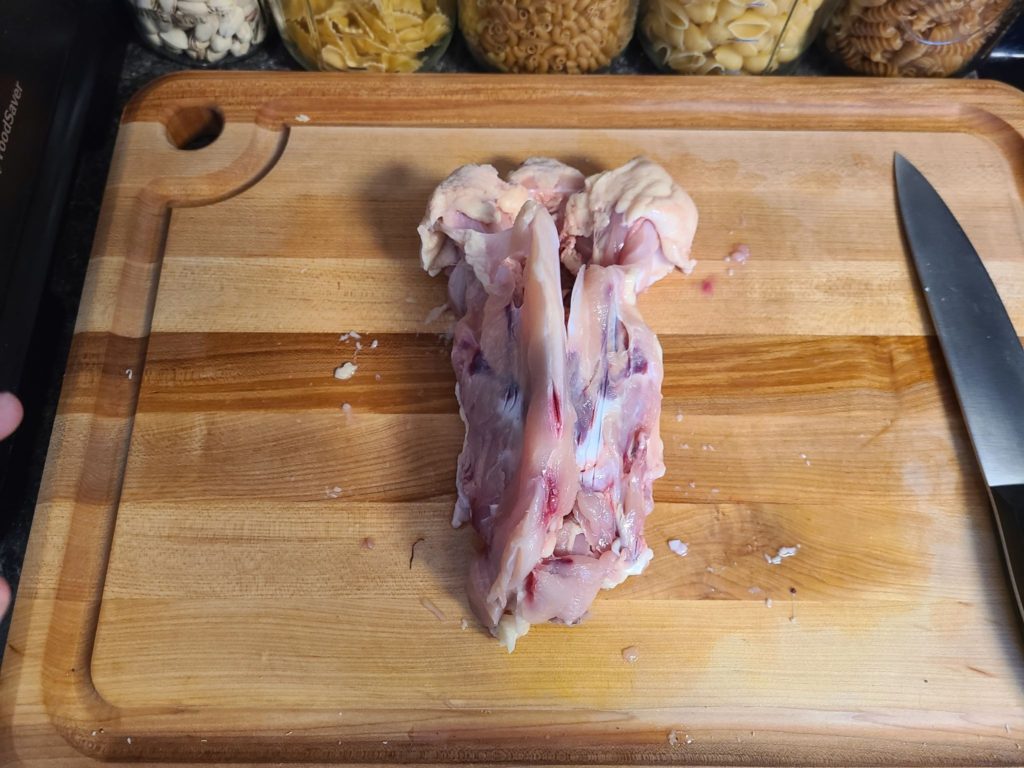
If you want, you can cut the chicken tenders out from the bottom of the breasts.
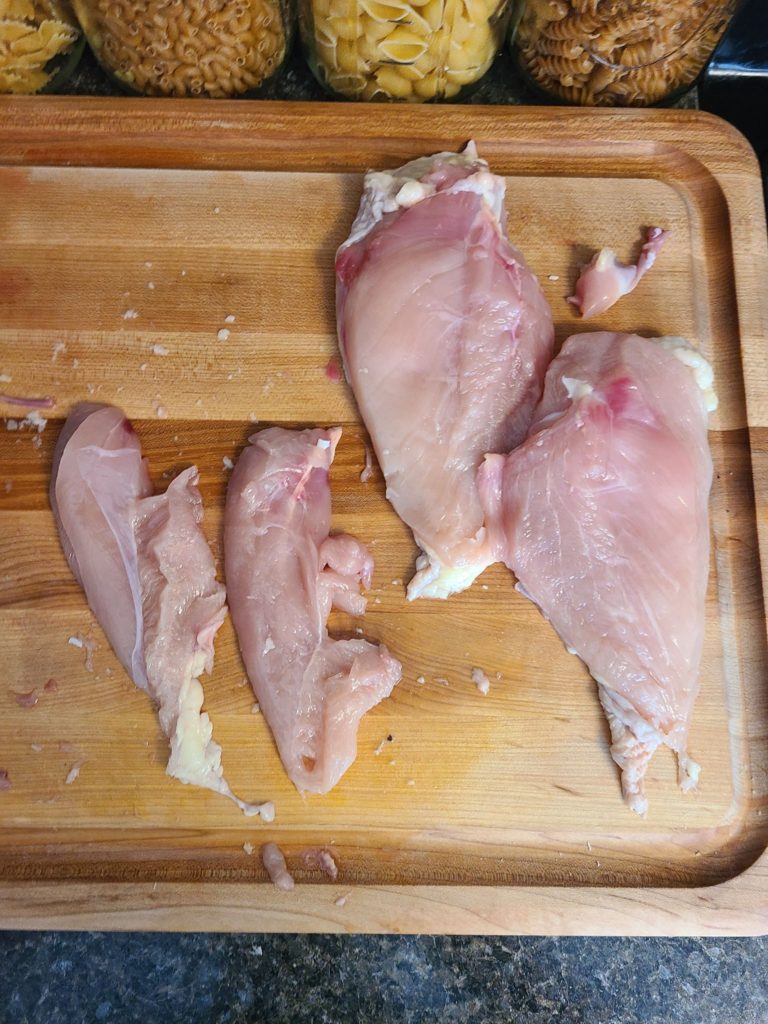
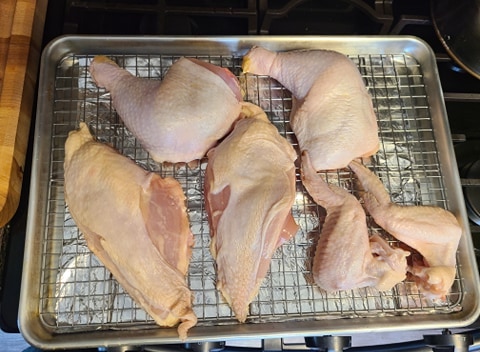
At this point, you will have 2 full wings, 2 bone-in Leg/Thigh pieces, 2 breasts, and 2 chicken tenders. You could stop here, discard your carcass, and pack your meat up for storage. However, if you do that, I may judge you a little! 😛
You just threw away your chance to make some delicious homemade chicken stock! Trust me, it’s sooo much better than the stuff at the store. Plus it’s brings a sense of achievement and “waste not; want not”.
Preparing to Make Chicken Stock
Take a Leg/Thigh, that still has the bone in, and place it on your cutting board; skin-side down.
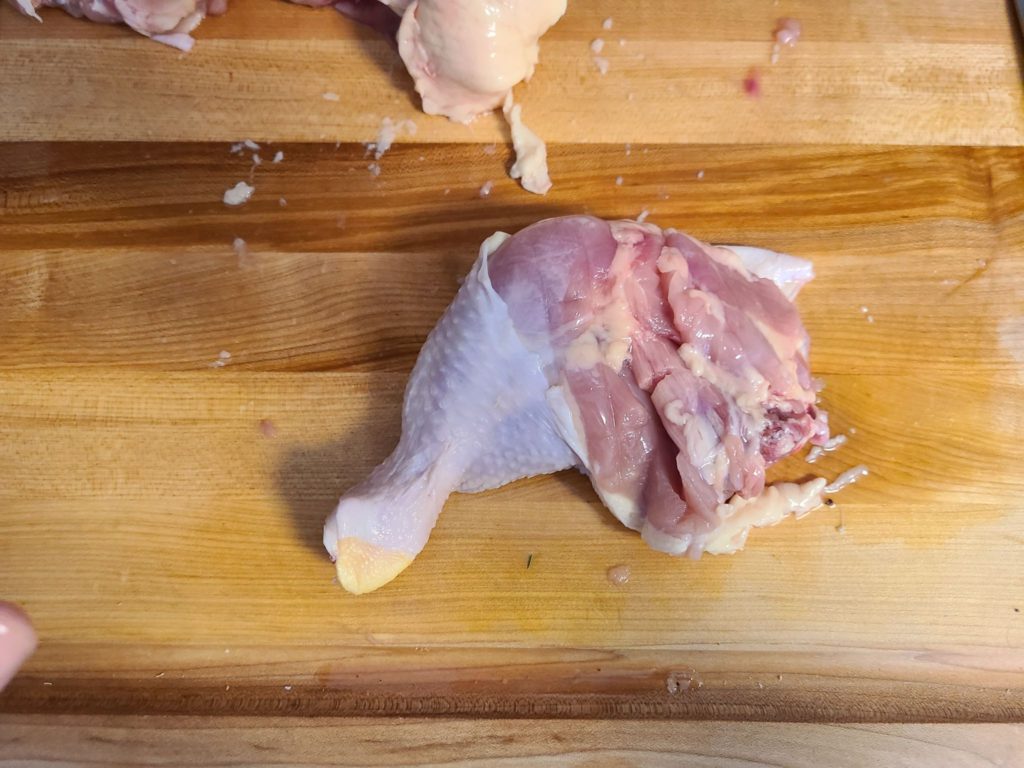
Begin with the thigh bone side. Cut through the meat until you hit the bone. Continue slicing the meat to expose the thigh bone, and begin to work the meat away from the bone. Work until you get to the knuckle and stop.
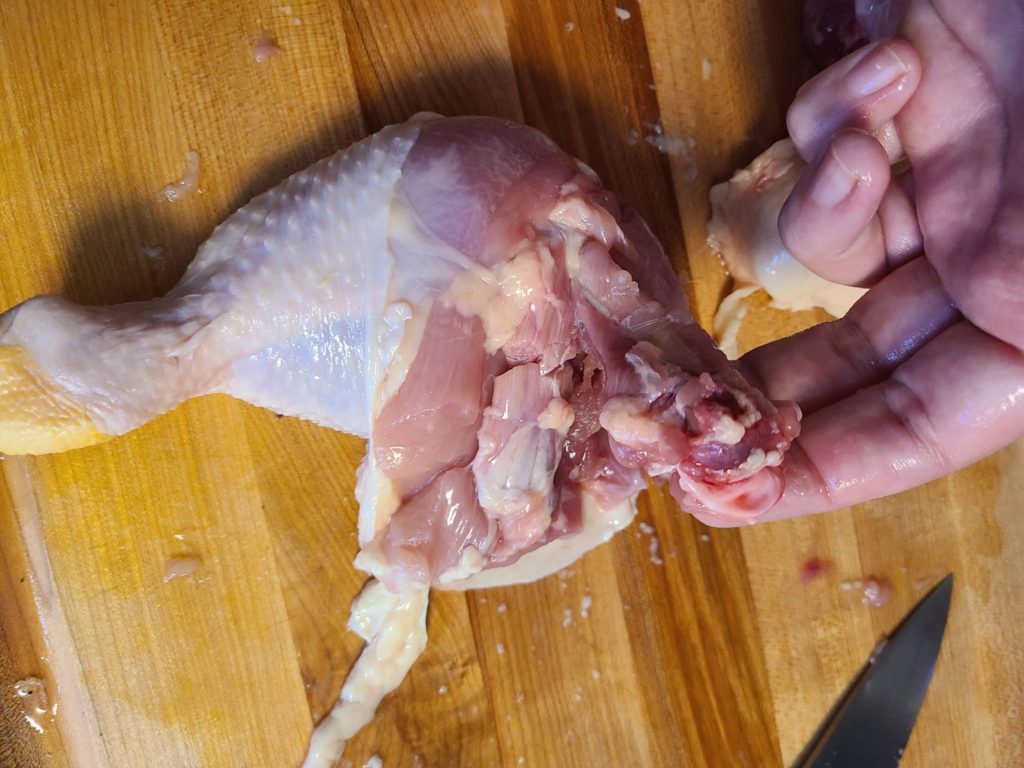
Do the same process on the drumstick.
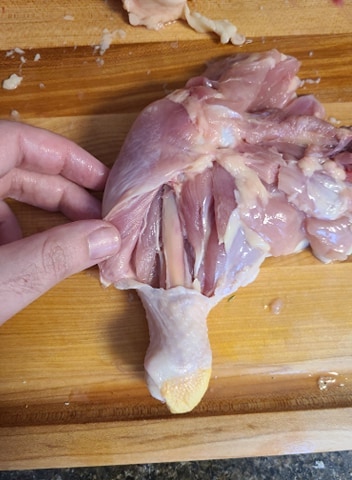
Releasing as much meat as you can, work around the knuckle.
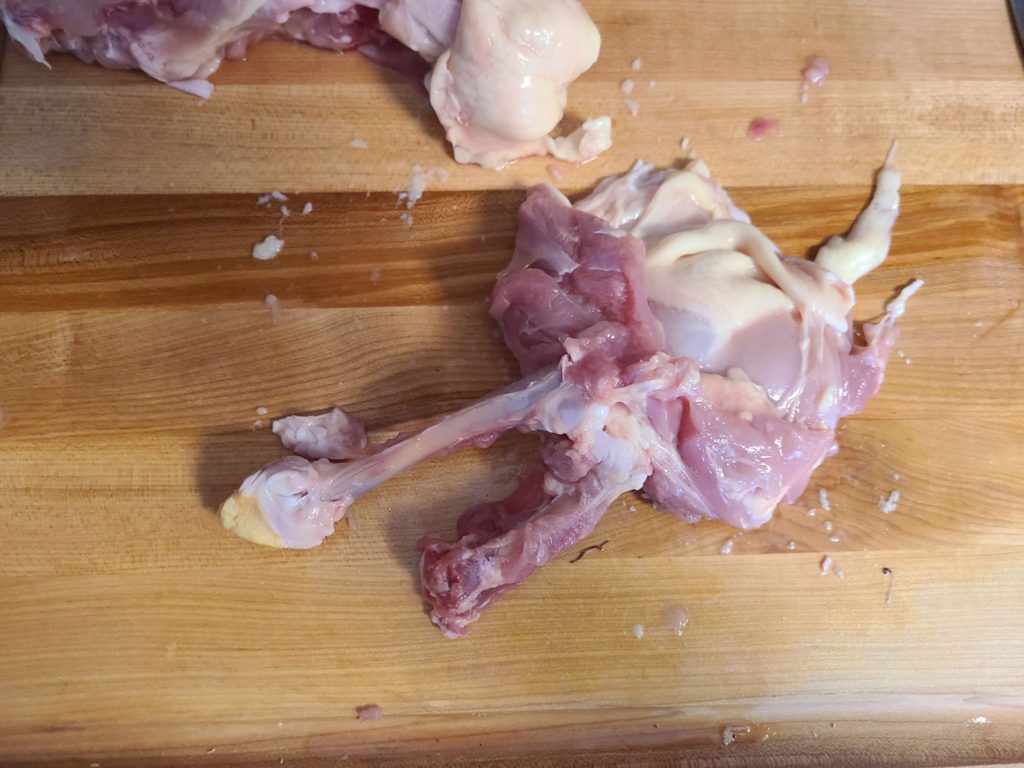
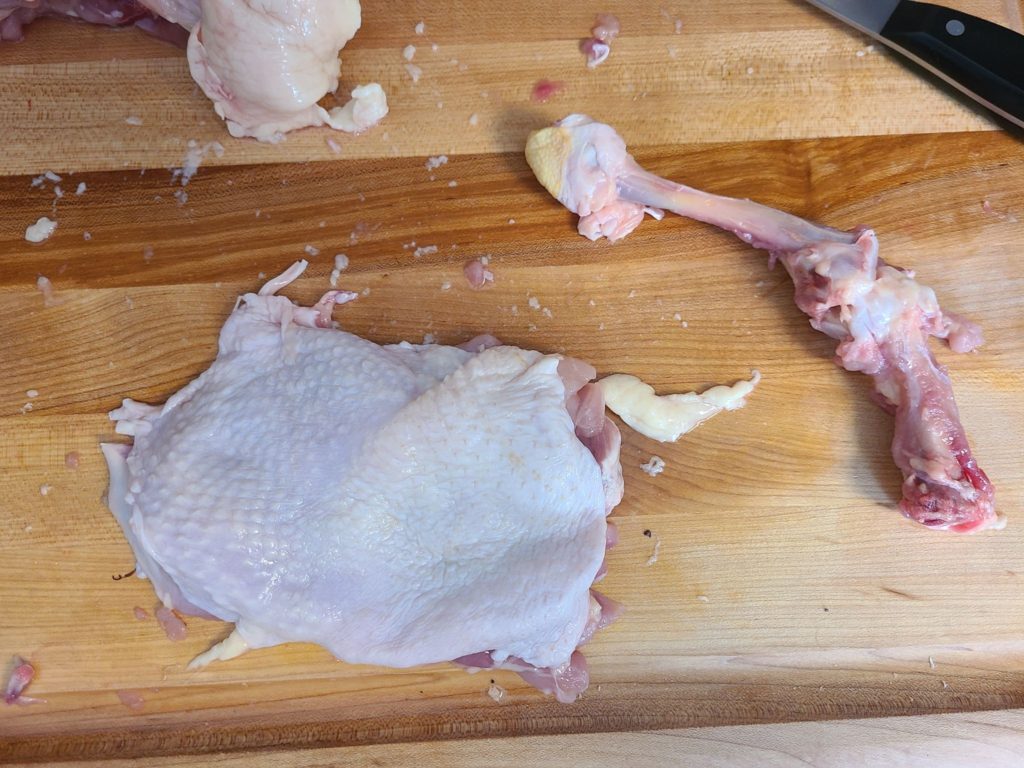
When you’re done with the one, repeat the process for the second.
On a lined tray with a cooling rack, place all of your bones and the carcass on the rack. Drizzle and massage everything with cooking oil. Since the wings are mostly skin with relatively little meat, I wouldn’t bother trying to debone them.
Set your oven to 425°F, and roast the bones for 45-60 mins, or until golden brown. Keep an eye on them, you may need to rotate the pan so everything roasts evenly. Or use your convection setting and subtract 15 minutes or so.
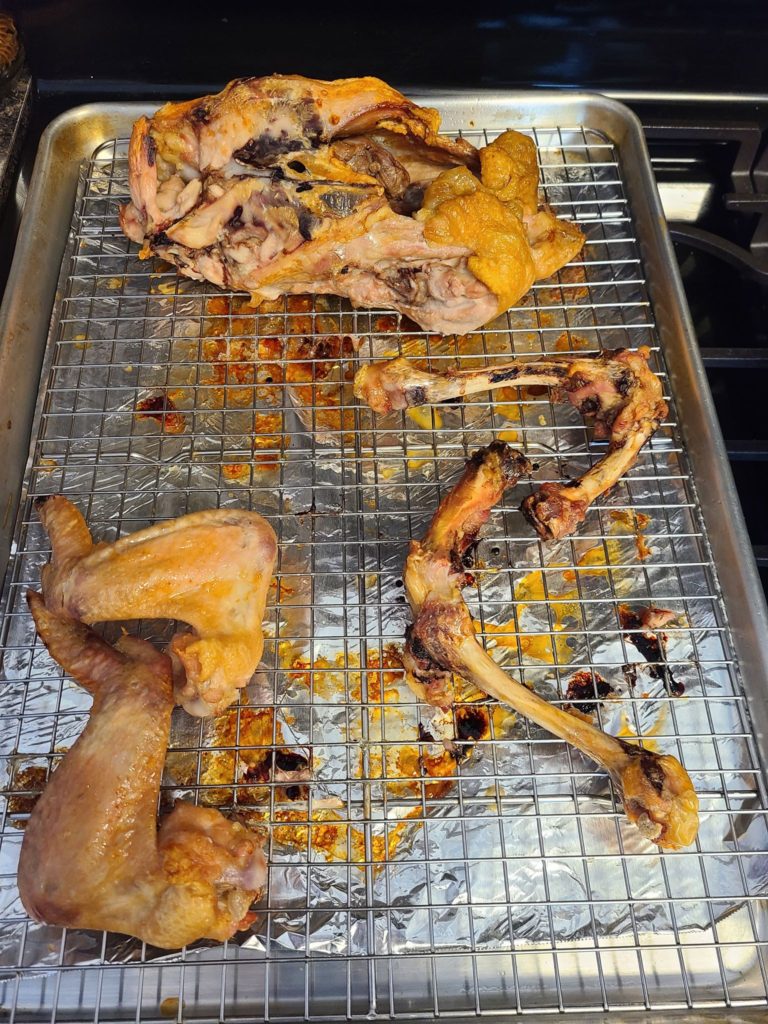
While the bones are roasting, use this time to clean your board and store your meat. If you used a wooden cutting board (especially if it’s too large to fit in the sink like mine) you’ll need to sanitize it.
- First scrape any juices or bites of meat into the trash. If you have a dough scraper you can use that.
- Wipe down your board with a wet paper towel or dish cloth. Throw the dish cloth in the laundry since it is now contaminated.
- Spray undiluted white vinegar or lemon juice onto your board. Let it sit for 10 minutes.
- Wipe down your board with a wet paper towel or CLEAN dish cloth.
- Let your board air dry.
At this point you are ready to start making your stock! Click on the link below.
